CraftCMS, Gastby & Netlify with Live Preview! (Part 2)
Welcome to this multi-part series on building a blog using CraftCMS and Gatsby. We will cover CraftCMS & GraphQL configuration, GatsbyJs setup & configuration, discuss and implement my approach to CraftCMS Live Preview with Gatsby, and finally we will cover deploying on Netlify.
This article assumes that you are familiar with the basics of developing CraftCMS locally using Nitro (v2), deploying to production and all it's parts (hosting, domain configuration, etc), building websites using GatsbyJS and deployed them to Netlify.
Table of Contents
Part 1: Overview
Part 2: Headless CraftCMS
Part 3: Gatsby + Craft (with SEOmatic)
Part 4: Live Preview
Part 2: Headless CraftCMS.
In this part we will install and configure Craft in headless mode to be queried by Gatsby.
Setup
Let's spin up a new CraftCMS site locally using Nitro:
$ nitro create headless-craft.testAt the time of writing, this command will walk you through a series of prompts. Use the defaults when available, and PHP 8.0 option.
Once it's finished, it's time to fire up your browser and go to http://headless-craft.test/admin. It will prompt you to finish Craft's installation. Setup your admin user, give it a name, and keep everything else default.
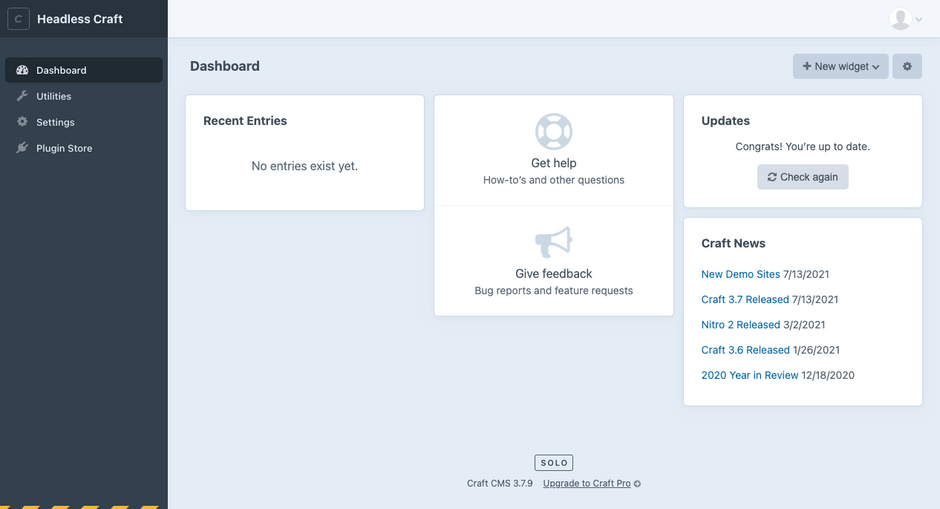
At the time of writing, we are running Craft version 3.7.9. At this point you should seeing this:
Now, let's install some plugins!
Plugins
First upgrade to the Pro version of Craft, since we need it's GraphQL support. Next, let's install Redactor, SEOmatic and Gatsby Helper.
We are using Redactor for rich text content and the awesome SEOmatic for all things SEO.
Gatsby Helper enables support for the gatsby-source-craft Gatsby source plugin. Combined, they provide an integration between Craft CMS and Gatsby (more on that later when we are working on the Gatsby part).
Configuration
Now that we have Craft install, upgraded to the Pro version and we have the plugins installed, let's configure it!
Let's start with .env file:
# -- .env --
PRIMARY_SITE_URL=http://headless-craft.test
PRIMARY_SITE_URL=http://localhost:8000
ADMIN_SITE_URL=http://headless-craft.test
ASSETS_SITE_URL=http://headless-craft.test
Because Gatsby will be running locally on http://localhost:8000 we will make that the primary url in Craft. That will make Craft generate proper entry url for Gatsby pages.
We will set headlessMode to TRUE, to optimize performance. More on that in the docs.
We will set ADMIN_SITE_URL to http://headless-craft.test so we can set baseCpUrl later, to tell Craft where the Control Panel will be running.
ASSETS_SITE_URL is there so we can easily add and configure Craft's Asset Volume to it, to provide public urls for our images.
Add the following lines to Craft's config/general.php:
// -- config/general.php --
'*' => [

   'headlessMode' => true,

   'baseCpUrl' => App::env('ADMIN_SITE_URL') ?: null,

   'aliases' => [
       '@assetsUrl' => App::env('ASSETS_SITE_URL'),
   ],
    // ...
],
This will also come handy when comes time to push Craft to production. Check this Craft article for more details.
We also add @assetsUrl alias because adding the $ASSETS_SITE_URL/uploads doesn't work.
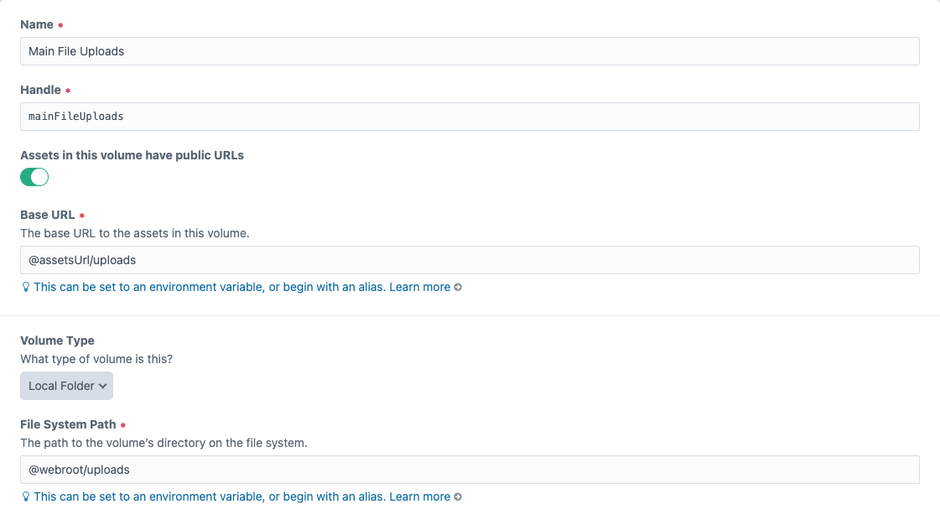
Now let's add the Main File Uploads asset volume in Craft by going to Settings, Assets, clicking on + New Volume, then adding the following:
- Name: Main File Uploads
- Handle: mainFileUploads
- Assets in this volume have public URLs: TRUE
- Base URL: @assetsUrl/uploads
- Volume Type: Local Folder
- File System Path: @webroot/uploads
You can leave Field Layout as is.
Last but not least, let's add a route to config/routes.php per Craft's GraphQL Documentation:
// -- config/routes.php --
'*' => [
    'api' => 'graphql/api',
    // ...
],
We will get back to Craft's GraphQL configuration later.
Home Page Single
Create a section single named Home Page. No need for fields or anything: we will use it for SEO purposes.
Blog Fields and Channel
Let's create the following fields as Name(handle) and it's configurations:
Excerpt(excerpt):
Plain Text (Allow multi line)
Cover Picture(coverPicture):
Asset field, restricted to single folder (Main File Uploads)
Restrict allowed file types (Image)
Limit (1)
View Mode (Large thumbnail)
Content Blocks(contentBlocks):
Matrix Field with following blocks types:
Rich Text(richText) with Body(body) Redactor required field
Picture(picture) with Image(image) Asset field required
Same configuration with the above Cover Picture / coverPicture
Next let's create a section channel Blog(blog) as the picture below:
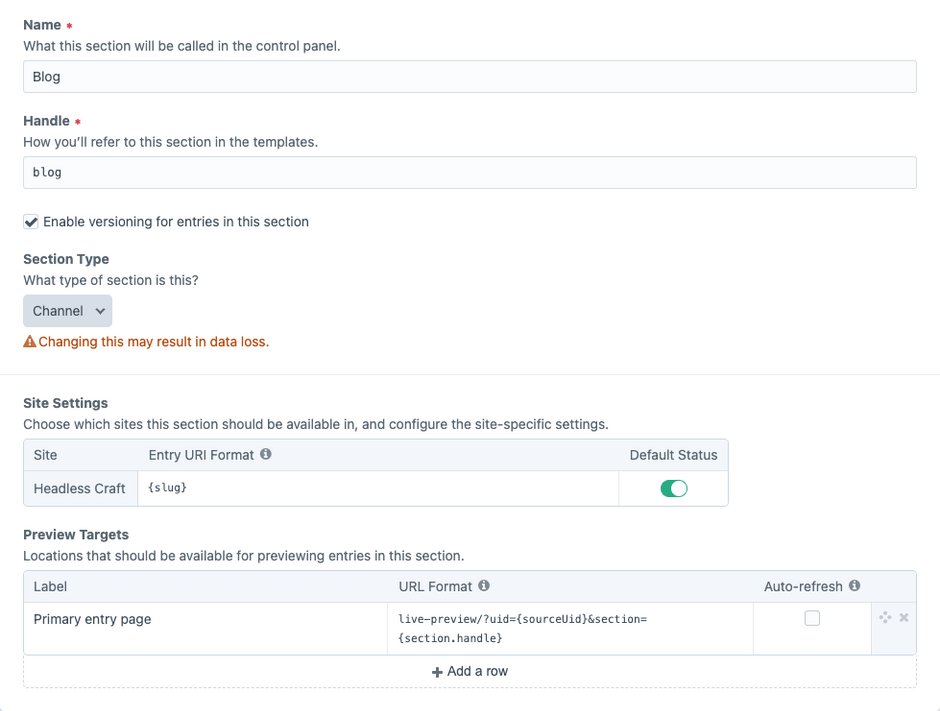
We are keeping all Blog entries at the root level by setting Entry URI Format to {slug}.
In Preview Targets, we will set the Primary entry page URL Format to live-preview/?uid={sourceUid}§ion={section.handle} and Auto-refresh unchecked.
This will allow craft to send both the Live Preview and View Primary Entry Page to Gatsby.
Once saved, add all created fields to the Default entry type and save.
🚧 Don't forget SEOmatic! 🚧
You can enter custom values for the Home Page. On Blog in Content SEO, let's map SEO Title Source to Title, SEO Description Source to Excerpt and SEO Image Source to Cover Picture.
GraphQL Configuration
Last but not least, let's configure GraphQL. For simplicity sake we will use the default Public Schema, but we could create a token protected schema with the caveat that our client route would have to call a Netlify Function to securely access environment variables with our created token.
Let's go ahead and edit the Public Schema to match the image below:
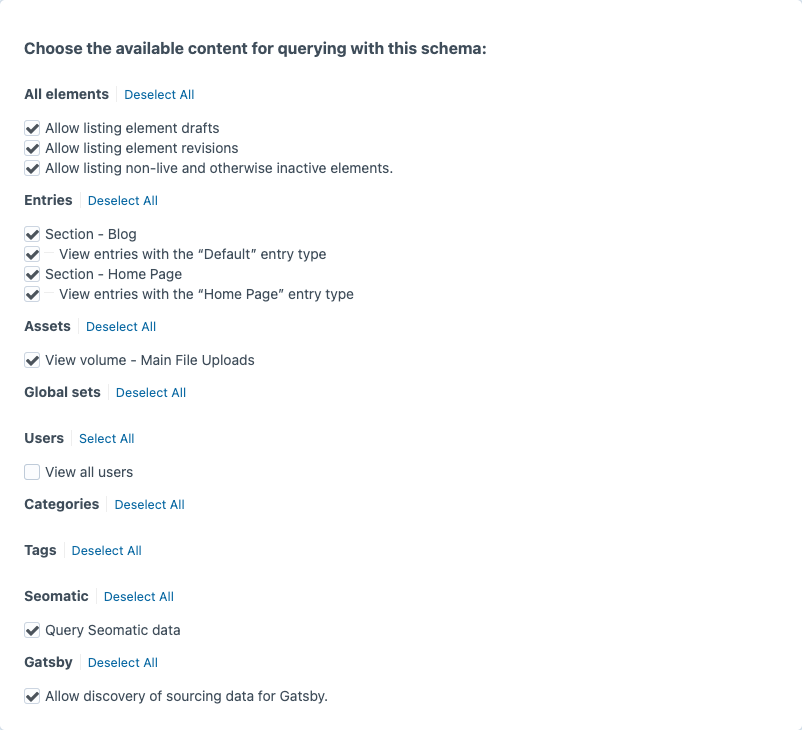
Note that besides the usual Elements, Entries and Assets options, we also checked Gatsby and SEOmatic. Gatsby Helper Plugin will add some extra support to GraphQL specific to Gatsby ecosystem and add some performance improvements. SEOmatic is also there because why not? It's awesome and just works! Thanks Andrew!
And with that, we are set to start on Gatsby on Part 3 next.
